Modern horizontal blinds are made from high-quality modern materials, but there are unusual situations when some of the components or the blinds themselves are damaged, and you have to repair them or order new ones. If, after all, the blinds have become unusable, you should determine the extent of their damage and the feasibility of repair, because sometimes it is cheaper to purchase new blinds than to sort out the old ones.
Let's consider options in which there is a chance to carry out repairs without much difficulty:
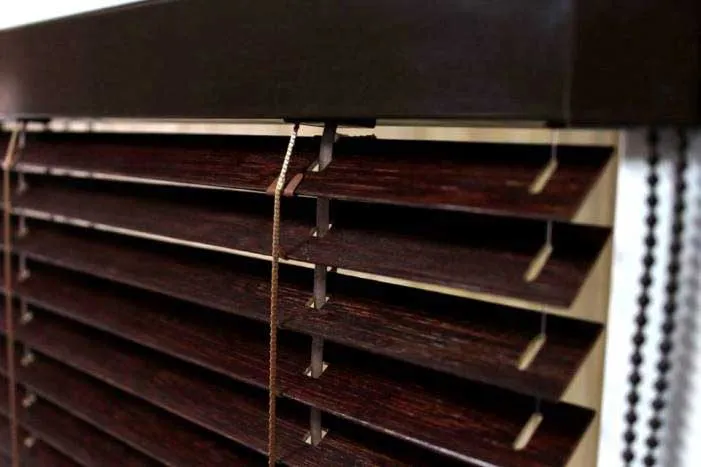
The uniqueness of the design, if the blinds are made of wood or other expensive materials, you should not immediately order a new expensive product.
Minor damage, for example, a broken hook or control stick, requires replacement of the mechanism.
There are also cases when repairs are not recommended; this happens if the structure is damaged too much, or the cost of components exceeds the price of a new product.
There is a lot of damage to the lamellas.
Damage to cords or ladders for replacement, which require a complete reassembly of the product - special skills are required to assemble blinds, so instead of completely disassembling the blinds, it is sometimes better to order a new product.
Let's consider an option in which you can repair the blinds yourself.
Hook breakage - the hook is fixed in the control mechanism and, with the help of a cane, turns the slats to the required position. Hooks are a fairly fragile part of the mechanism and break quite easily. To replace the hook on horizontal blinds, just buy a new hook for the blinds and install it in the mechanism, after which the control stick is fixed to the hook. There is also the option of buying a cane complete with a hook and handle and replacing it entirely.
Replacement of a cane - the cane is made of transparent dense plastic, it is very hard and therefore quite fragile. If you need to replace the cane yourself, all you need to do is order a new cane for the blinds and install it on the hook; no disassembly of the product is required.
Replacement of the mechanism - if the mechanism breaks down, it must be replaced.
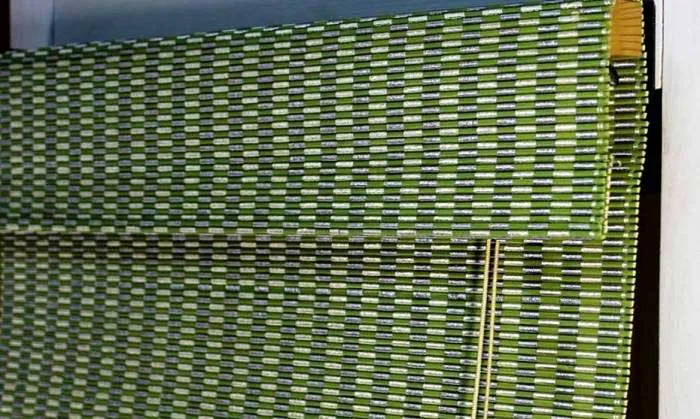
The weak point of aluminum blinds is precisely the slats; they are made of thin aluminum plates that wrinkle easily and do not return to their original form. To repair the slats, you must order new ones of the same length and with holes in the same places. To replace several slats, you will need to completely disassemble the product, and there is a high chance of damaging the entire slats that remain, so if the slats in the blinds are damaged, it is better to immediately replace them with a new product that will have new components and will last for a long time.
Do-it-yourself vertical blinds repair
Vertical blinds are a very popular means of sun protection in schools and offices; they perfectly perform the function of sun protection and do not interfere with the ventilation of the room. This is a fairly durable design that has no obvious drawbacks, but there are cases of damage to the lamellas or individual components, since the product is used more actively in the office than at home. Let's consider common types of blinds breakdowns and components for their repair. However, over time, some elements fail.
Let's look at the causes of breakdowns of vertical blinds and how to fix the blinds yourself.
Replacing the Bottom Chain - The bottom chain is located at the bottom of the blind and connects the weights that are inside the fabric. The chain itself consists of plastic balls and special hooks that are attached to weights of fabric. This is an important structural element that allows you to keep the canvas intact and prevent the lamellas from dangling and clinging to each other. If for any reason the chain itself or the hooks on it are damaged, the entire chain becomes unusable and requires its complete replacement. To replace the lower chain, you must first measure the width of the blinds, or count the number of hooks on it. In vertical blinds with a lamella width, there are 7 hooks per 1 meter of chain, respectively, if you know the required chain length or the number of lamellas, it is not difficult to calculate how many meters of a new chain are needed for replacement. After purchasing a new chain, disconnect the old one from the weights at the bottom of the blinds and install a new chain; no special skills are required for this. Do not forget that the lower chain is located on both sides of the blinds and when replacing it should be replaced completely.
Replacing slat weights - Weights at the bottom of the blinds perform several functions at once, the main task is to plumb the fabric, the weight pulls the fabric vertically down and prevents it from dangling during gusts of wind, making the blinds look like a beautiful integral structure with a solid canvas. The second function is to hold all the lamellas next to each other, there are special fastening ears on the weights, to which the lower chain is attached and connects all the weights to each other, the chain prevents the weights from moving inside the lamellas and holds the lower part of the product motionless. To replace the weights, simply unhook the hooks of the lower chain from them (on both sides) and pull the weight out of the lamella. After which a new load is installed in its place and the hooks are returned to their place. Please note - vertical blinds are supplied with different slat widths, namely 89mm and 127mm wide; 127mm blinds are often used in offices and schools, but before ordering new weights for vertical blinds, you should make sure what exactly your slat width is in order to order the correct components .
Replacing the control circuit - the control circuit in vertical blinds is quite strong and is very rarely subject to breakage, but if this happens, to replace it you need to do the following: remove the side cover and you will see the gear on which the chain is installed, after which you need to remove the gear and replace the chain to a new one, and then we perform the same actions in reverse order, return the gear to its place and close the side cover.
Replacement of hangers - hangers are installed inside all slats with the help of which the slats are fixed on the eaves; hangers easily break if the slats are handled incorrectly, after which they need to be replaced. To replace a hanger, simply pull it out to the side and install a new one in its place. But pay attention to the hole for the hangers, in some cases they are sewn tightly and if it is still possible to pull out the old hanger, then inserting a new one will no longer be possible, in which case you need to order a new lamella.
More rare types of breakdowns are replacing the lamellas and replacing the entire cornice; let’s look at them in more detail.
Replacing the slats is required if the fabric is damaged or heavily soiled. To order a new lamella, you need to select a fabric and indicate the overall size of the lamella; if the overall size is correct, the lamella will be immediately hemmed to install the load and hanger. The new lamella can be easily installed in place of the old one, but if the curtain is used for a long time on the sunny side, the fabric will fade over time, and the new lamella may differ in color, as it will be more saturated, pay attention to this when ordering new components. Fading has virtually no effect on white and light shades of fabric and is more pronounced on bright shades like orange, red, blue, etc.
Replacing a cornice - a cornice is often replaced when one of the runners breaks, since replacing a runner at home is quite problematic; it is enough to order a new cornice complete with new runners and components. In order to buy a cornice for vertical blinds, it is enough to measure the overall width of the current cornice and indicate when ordering which slats will be on it, since there are two types of slats with a width of 89mm and 127mm distance and the number of runners on the cornice will be different. Also, when ordering a curtain rod, you must indicate the type of control; the type of control affects the direction in which the slats will move when opening.
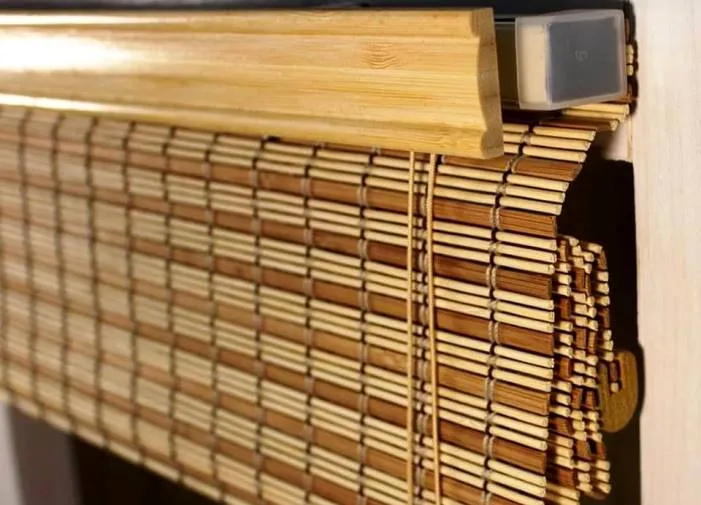
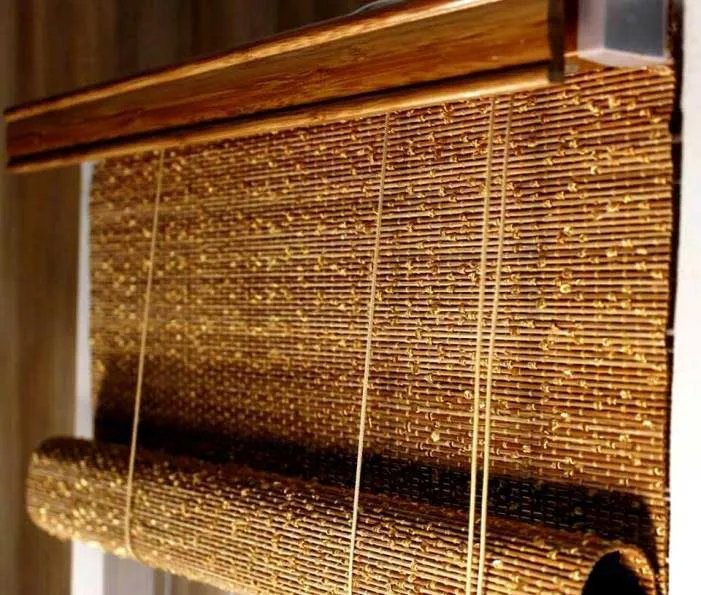
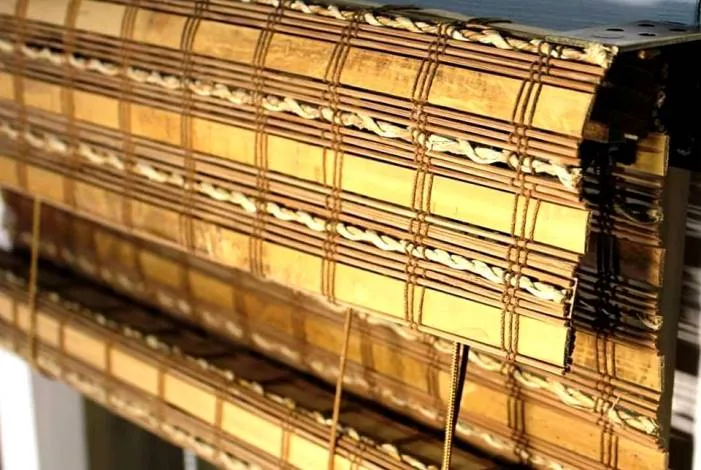
Do-it-yourself roller blind repair
Roller blinds, unlike vertical blinds, are more often used at home, as they are designed for installation on separate doors, so they are not so convenient for covering large office window openings. Roller blinds are much less likely to break because they are used much less frequently than office curtains; curtains often come off once or twice during the day. Curtains can be installed on an open or closed system; we will consider these two options in the future.
Open system - has a minimum number of moving parts, so breakdowns are extremely rare and they are often associated with mechanisms. During manufacturing, curtains are checked for the permissible weight of the structure, so each system is manufactured for the longest possible service life without overloading the mechanisms.
To repair roller blinds, we provide a special repair kit, which includes brackets and mechanisms for the complete replacement of all components on the product. Please note that the mechanisms are supplied without a control circuit and must be ordered separately. The control circuit for different types of mechanisms is different, so the old chain that was already on the product may not fit the new mechanism.
The question remains, how to replace the mechanism on roller blinds with your own hands?
To replace a mechanism, you need to determine its type and order a similar one. Once you have the mechanism, remove the curtain from the window along with the brackets (if you plan to replace them), after which you need to remove the mechanism from the pipe with fabric and insert a new one in its place. When installing a new mechanism, it is also necessary to install a control circuit on it (if it is suitable, then it is enough to install the old chain or order a new one). Once the mechanisms are installed, all that remains to be done is to install the brackets and fix the shaft with the mechanisms in place.
If the curtain fabric is damaged, the fabric in roller blinds is quite dense and often does not get damaged on its own, but if this happens, it is not always worth repairing the curtain and there are a number of reasons for this. When using curtains, mechanisms and other structural elements are subject to periodic loads and become unusable over time. Even if you order new fabric separately, you can try to replace it, but outdated mechanisms can also become unusable at any time. The cost of roller blinds largely depends on the price of the fabric and its size, so ordering the fabric itself separately is not always advisable, because it will cost almost the same as a new curtain produced in a factory in compliance with all standards and tolerances. In any case, a new curtain is a better solution to the problem with the fabric than trying to replace it yourself.
In other types of open systems, the replacement principle is similar, the mechanisms work on a similar principle, but differ in dimensions and materials of manufacture.
Replacing the mechanism in a closed system of roller blinds with your own hands
To replace the mechanism, you need to perform the following procedure:
Remove the side decorative plugs by pulling them towards you.
After the mechanisms have opened, the places where the cornice is attached to the window frame will be visible. Unscrew the cornice from the window.
Now you will have a fully assembled box in your hands, you will see two screws that fasten the brackets to the cornice; you need to unscrew them in order to remove the side bracket and thereby free the mechanisms.
After one of the brackets is removed from the box, it is possible to pull out the shaft with fabric and mechanisms. Accordingly, we take out the shaft and remove the mechanisms from it by simply pulling them.
Now that the shaft is freed from the mechanisms, we insert new mechanisms into it in the same way and reassemble in the reverse order. We install the shaft with the fabric in place and press it with a bracket, securing it with self-tapping screws.
After installing the bracket, all that remains is to fix the box assembly back into place and the product is ready for use.